Before We Start
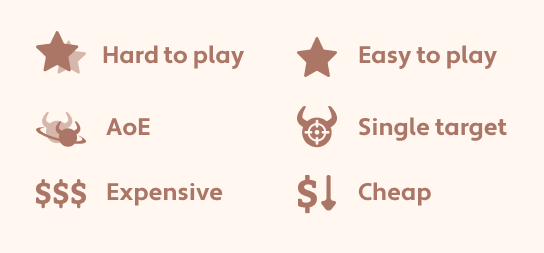
We will be evaluating teams based on these criteria within the context of the Spiral Abyss, with extra notes when necessary. Extra icons will point out specially difficult or easy, AoE or single target, and expensive or cheap teams. You should know that not every variation of teams will be listed, but rather each character’s best or near-best. We will be providing some gcsim simulations of some characters to demonstrate their strength, but do not be deceived by DPS values alone, there are many considerations when evaluating characters.
Z Tier
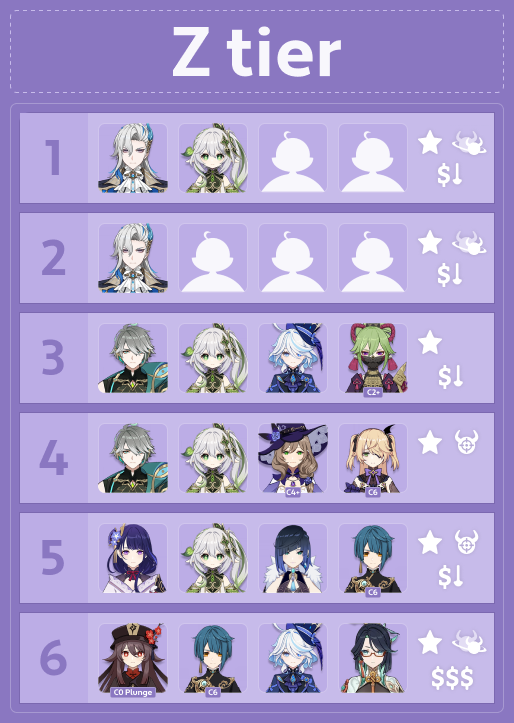
These teams output disproportionate amounts of damage compared to how easy they are to use and are able to clear the Spiral Abyss with trivial investment.
The Best Units
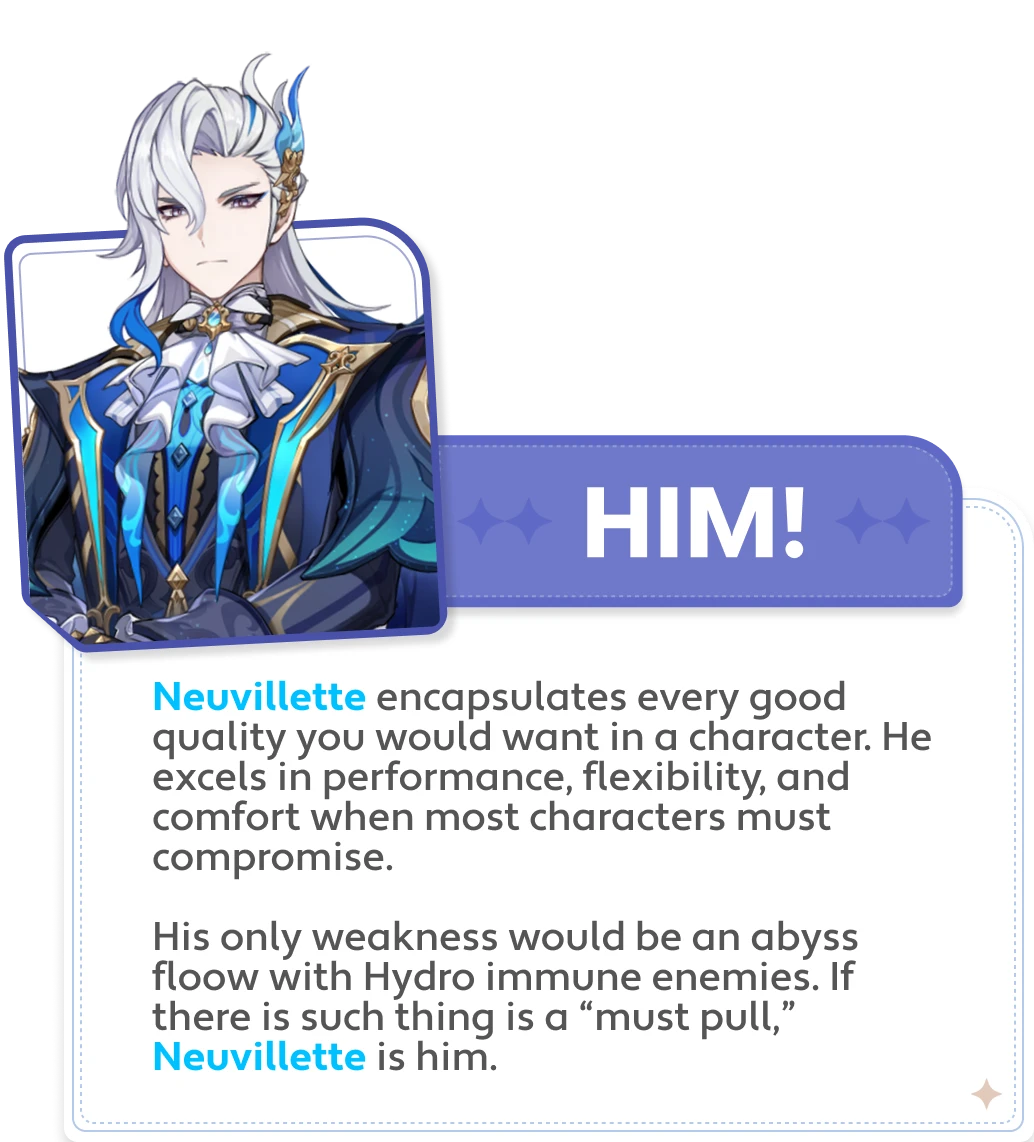
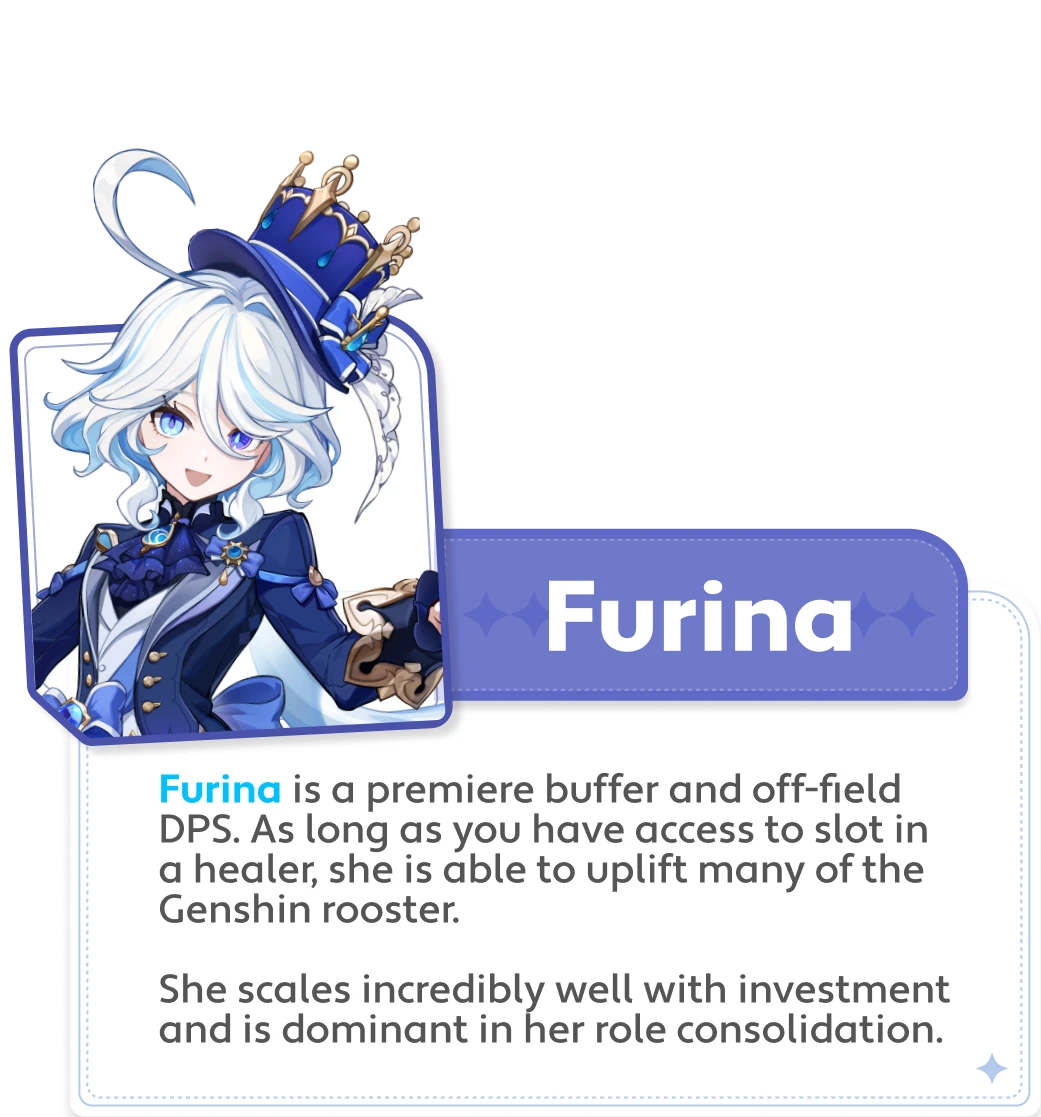
At the pinnacle of Z-Tier units, we consider Neuvillette and Furina to be the best units in the game. They are the premier units that pair together and with others extremely well. They dominate the conversation at the peak of the meta. Neuvillette works with nearly every team composition while freeing up your Xingqiu or Yelan for another team, does incredible damage by himself, and does it so easily. Furina on the other hand, is an extremely powerful off-field damage dealer that provides a 75% omni-element/rainbow DMG bonus to every member of the team, propelling some hypercarries and their teams into extremely potent positions in the meta. Furina also is not always a clear better choice, however. Her personal damage is substantial to many teams, meaning that maintaining her passive damage multiplier to her summons is a real team building challenge.
Neuvillette has no shortage of strong teams either. gcsim’s team database is filled with easy to pilot teams of C0 Neuvillette .



R1


R5



R5



R3
Description:
Neuvillette-Furina Hyperbloom
Sim Duration:
102.99 seconds
DPS (mean):
86805.17
Additionally, variations of Hyperbloom teams that have extremely low primogem and resin cost with good ease of use and exceptional performance find their way at the top of the meta. Alhaitham acts as an exceptional driver for these teams. Raiden Shogun serves as an even easier option to trigger Hyperbloom from Dendro cores.
Finally, players may be surprised to see that Hu Tao appears in the Z-Tier over the ever popular Arlecchino . We ascribe more value to C0 Hu Tao - Xianyun compositions because of access to true AoE, and better quality of life than Arlecchino .


R1


R3


R5


R3
Description:
Xianyun lets Hu Tao do charge attacks followed by low plunges.. Between the Bennett and Jean variants of this team, this Xianyun variant is both not constrained to an area and allows for slightly larger AOE than her normal charge attack playstyle.
Sim Duration:
85.82 seconds
DPS (mean):
72955.42
S Tier
Units in the S Tier are still at the top of the meta-game, but have other considerations that push them down from the Z Tier.
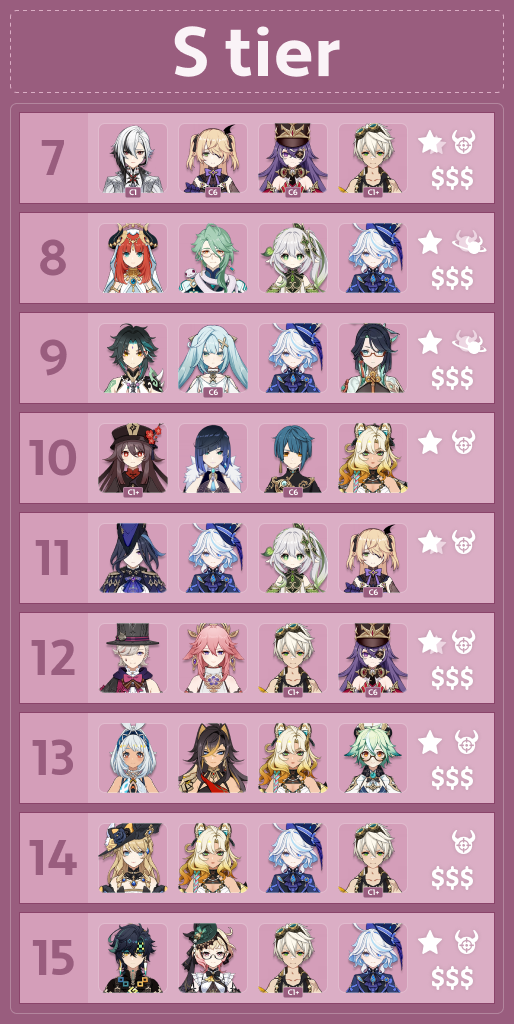
As discussed in the Z tier section, Arlecchino ’s dolphin team appears at the pinnacle of the S Tier. It can’t really be understated how much damage this team composition is able to do, despite how finnicky Arlecchino can be.


R1


R3


R1


R1
Description:
Arle mono pyro w chevreuse for c6 and small amt of dmg. 15/16s rotation N3D combo. Funell Arle skill particles to bennett. Alternates Kazuha skill and burst usage
Sim Duration:
63.58 seconds
DPS (mean):
75356.99
Right behind Arlecchino is Nilou , who is only this low because of the number of 5-Stars required to push her. Nilou excels especially in AoE content, where the Bountiful Blooms are able to rip through enemies. Note that her teams, like most Nahida teams, also scales extremely well with constellations across all of their members.



R3


R1



R3




R1
Description:
triple hydro nilou bloom with baizhu driver. 22s~ rotation. baizhu is built em, still but his shields healing are still enough to sustain the team. can also build hp/hb for not a huge lose. on field baizhu apply decent amount of dendro to make blooms, with him owning around half of them. yelan and furina build hp/hydro/crit and deal high non reaction damage.
Sim Duration:
108.74 seconds
DPS (mean):
58396.76
One of the best glow-ups from their release power level, Xiao has received numerous upgrades to his teams over the years. C6 Faruzan and Xianyun have boosted his power up substantially. Unfortunately, C6 Faruzan is notoriously difficult to attain without copies of less desirable constellations on Xiao and Wanderer .


R1


R3


R3


R5
Description:
Xiao triple anemo with Furina (50%collision).
Sim Duration:
94.30 seconds
DPS (mean):
75819.40
The rest of S Tier is filled with the top options for clearing the Spiral Abyss.
A Tier
A Tier is the bottom of the top of the meta, these teams are still able to clear the Spiral Abyss without much worry.
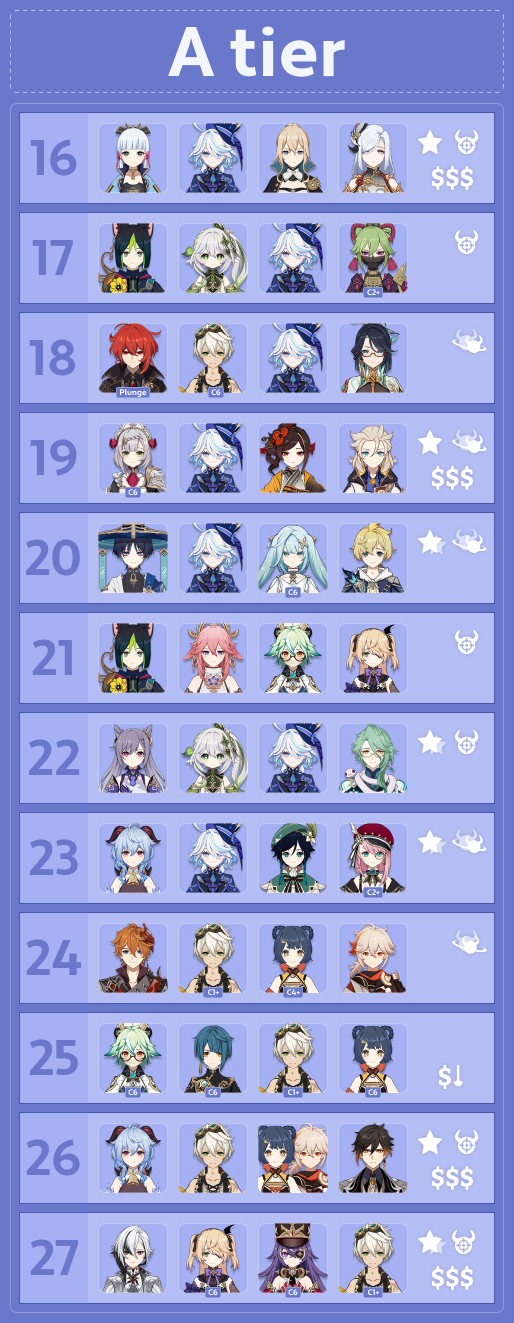
Freeze Ayaka has fallen quite a bit from grace. Her best variations can run Shenhe and Furina to push her damage further, but that’s quite the expense.


R1


R5


R3


R3
Description:
Ayaka-furina ignoring hydro swirl. Cryo swirl is consistent against bosses
Sim Duration:
20.50 seconds
DPS (mean):
64246.12
The beloved National team composition can be played with multiple variations and multiple team compositions, but one of the original team compositions with Sucrose , Xingqiu , Bennett , and Xiangling .


R1



R1


R5


R5
Description:
sucrose national
Sim Duration:
89.59 seconds
DPS (mean):
50770.78
B Tier
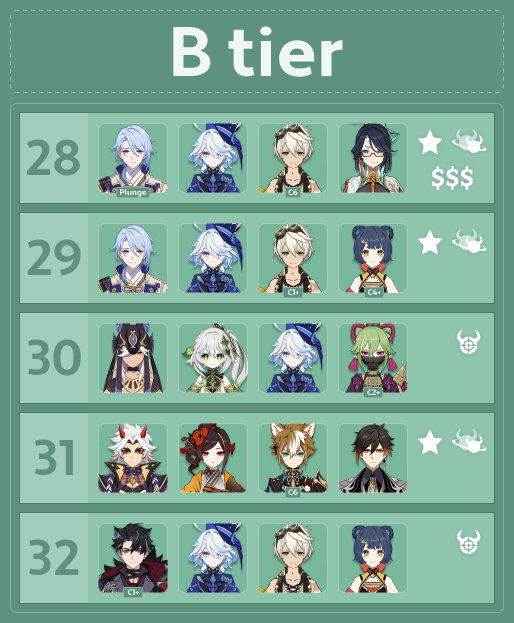
These units are able to clear the abyss, just with appropriate investment. These units are often much more Abyss matchup reliant. Note that Itto gets access to Furina with the release of Xilonen , but currently are not within gcsim. Itto ’s ranking will increase as we gain new information.


R1


R4


R3


R5
Description:
Itto Chiori Gorou with E only Yae. Chiori gets a second doll thanks to Ushi.
Sim Duration:
90.41 seconds
DPS (mean):
51212.34
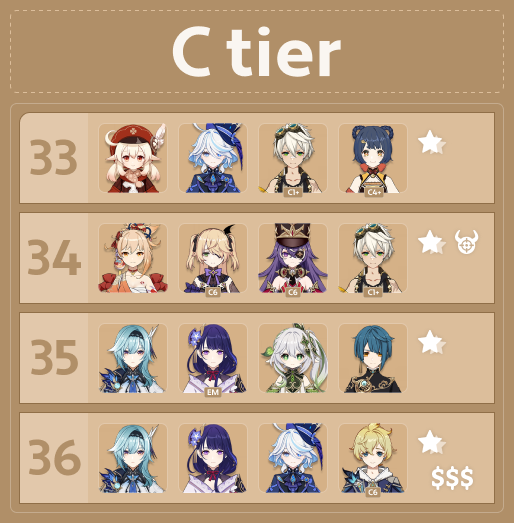
C Tier
These units are able to clear the Spiral Abyss with moderate difficulty, occasionally. They are heavily reliant on Abyss matchups as well as fairly investment heavy to overcome their pitfalls.


R3


R3


R1


R3
Description:
Kleerina w/ Xiangling. Very easy to play - Furina edq > Bennett q e > Xiangling q ed > Klee combo > Bennett e
Sim Duration:
100.80 seconds
DPS (mean):
60495.74


R1


R5


R5


R5
Description:
Eula combo utilises Mika's ATK Speed buff
Sim Duration:
101.89 seconds
DPS (mean):
53407.12
Not exhaustive. There are many teams that are able to clear the abyss and better than the listed 36.
